Save your memories— make a picture-frame using SIMMs
Memories are made of this.
—Terry Gilkyson, Richard Dehr, and Frank Miller
Parts
- 4 x narrow 30 pin RAM SIMMs (for the frame)
- 1 x wide 30 pin RAM SIMM (for the base)
- 1 tube Super Glue
- 1 pair of scissors
- 1 marker that can write on overhead transparencies
- 1 clear overhead transparancy or mylar
Instructions
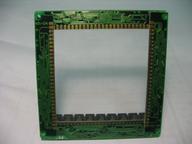 |
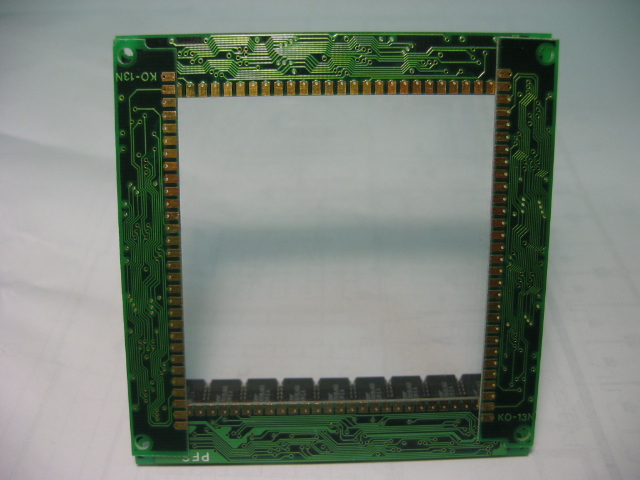
Glue the 4 narrow SIMMs to form a square frame with the chips on
each SIMM on the same side of the frame. The chips will be used to
hold the picture and the backing in place, behind the
frame. |
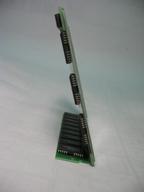 |
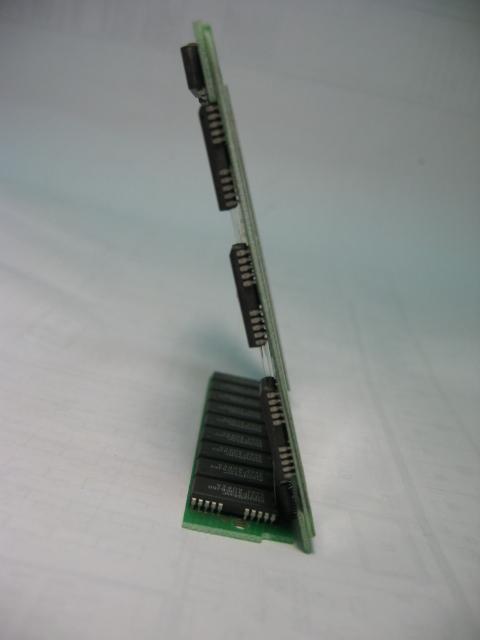
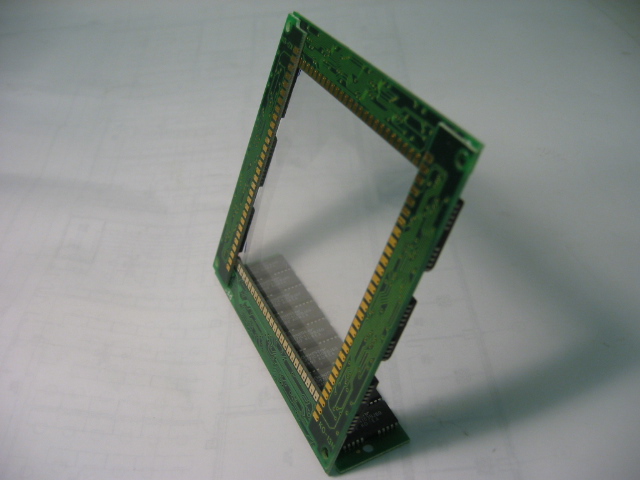
Glue the larger SIMM to the base of the frame using a small box
or other object support the back of the frame and to maintain the
correct angle and a heavier object at the front to keep the frame
from sliding away. |
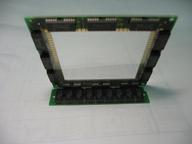 |
Place the overhead transparency on the frame and using the
marker, mark the corners to fit "inside" the chips on the back of the
SIMMS. Cut the overhead transparency along the marks --this piece
protects the front of the photo, and glue it to the SIMM using a few
dabs (one in each corner of the frame) of Super Glue. |
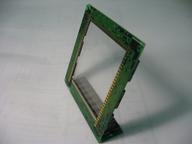 |
Cut another piece of overhead transparency, but slightly larger
than the previous piece along the vertical direction. Glue the second
piece to the chips along the bottom of the frame leaving the sides
and top unglued. This is the backing piece that will hold the photo
in place. |
 |
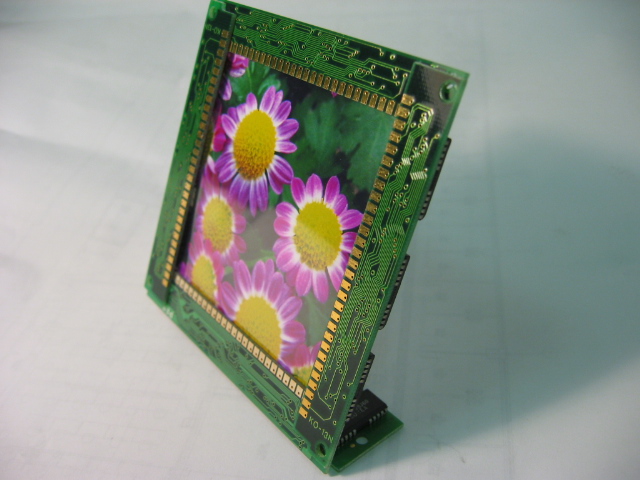
Cut a photograph to size and slip it between the two pieces of
overhead transparency. |
You are free to do what you will with this idea except claim it as
yours as I'm pretty sure no one has done this before me. You can also
use 2x72pin SIMMS and 2x30 pin SIMMS for rectangular frames.
luis fernandes, elf@ee.ryerson.ca
Originally created: 09/11/2003
Last modified: Sun Sep 14 11:49:27 2003